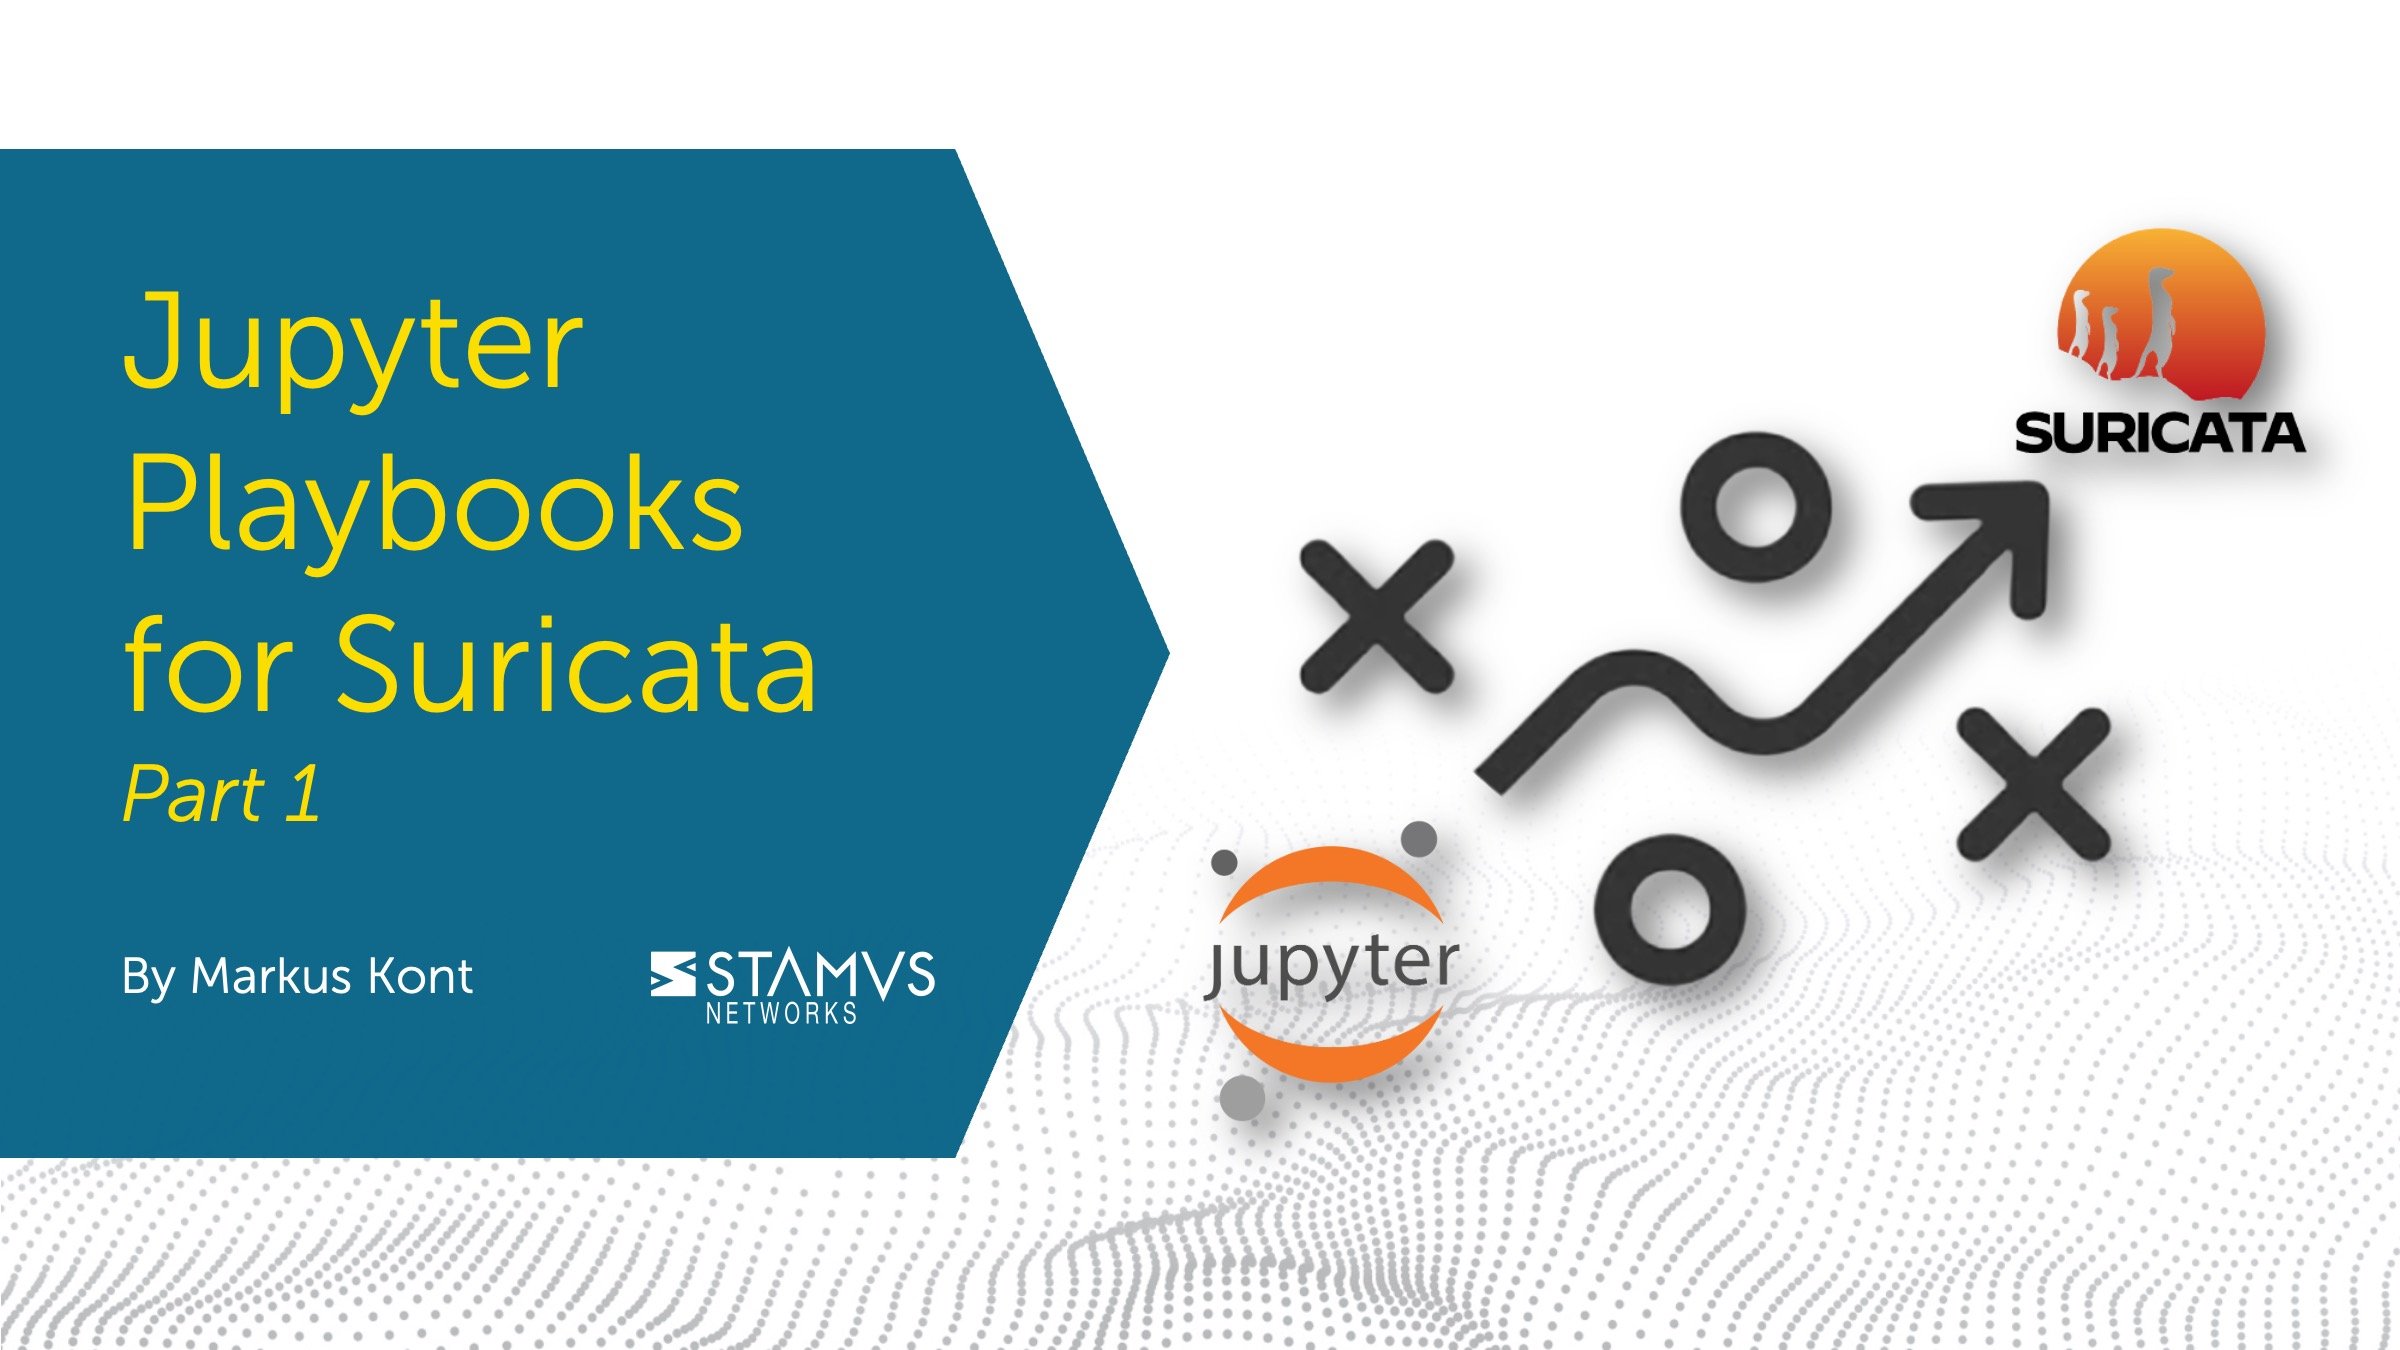
This is the first post in a series that will be based on my Suricon 2022 talk “Jupyter Playbooks for Suricata”. You can also find this blog as a section of a fully public notebook. The goal of this post is to introduce Jupyter notebooks to a wider audience. Readers are welcome to also read the notebook version, as code examples can easily be copied from that. Technically minded users are also encouraged to not only read the notebook, but also interact with it.
This blog post is one of four blogs discussing the above mentioned presentation. To skip to the other blog posts in the series, click on one of the following links:
- Jupyter Playbooks for Suricata: Part 1
- Jupyter Playbooks for Suricata: Part 2
- Jupyter Playbooks for Suricata: Part 3
- Jupyter Playbooks for Suricata: Part 4
This post introduces Jupyter notebooks and the EVE JSON (Extensible Event Format) data format. It does not assume any prior knowledge of either. Nevertheless, it does try to provide unique insights to readers who are already familiar with either or both.
Introduction to Jupyter Playbooks for Suricata
Back in 2022, I did a Suricon presentation titled Jupyter Playbooks for Suricata. The goal of that presentation was to introduce JupyterLab to security practitioners who work with Suricata. Many people are familiar with exploring Suricata EVE output using established technology stacks such as Elastic stack, Splunk, etc, yet they might be unfamiliar with tools from the data science world. Surprisingly, a lot of people are still totally unfamiliar with EVE NSM data. It's 2023 and Suricata is still considered by many to be only a rule-based IDS, and in fact Suricata is often deployed in tandem with NSM logging tools because many still believe Suricata is unable to fill the role.
In an effort to amend that situation, I developed my presentation focused around use-cases exploring Suricata EVE JSON logs. It attempted to bridge a gap between threat hunting and data analysis, communities that have large overlap in what they do, yet remain very separated. It also attempted to highlight useful insights that can be extracted from EVE NSM data.
The original presentation resources can be found here. Since the presentation was about Jupyter notebooks, and Jupyter notebooks are interactive by nature, it made no sense to me to format it as a simple slideshow. In fact, the notebook proved to be quite a flexible presentation environment, and it turned the talk into one big tech demo. This was perfect for a technical community conference. The input data was drawn from public sources, meaning anyone could run the notebook and repeat everything shown on stage.
That notebook was meant to be used as a resource that anyone could access and use as a reference for analyzing Suricata EVE logs. However, as anyone familiar with doing presentations knows, the challenge is not actually creating content. It's fitting the content you have into the window of time you’re given. A 45 minute tech talk does not really leave enough time to properly explain important concepts, especially if the audience is unfamiliar with the talking points. Many IDEs were cut entirely and others were explained quickly to move forward to more interesting sections. Each pseudo-slide also needed to be readable, meaning no extensive walls of text as they would simply not fit the screen. The fact is, what works in technical writing does not work for presenting, and the same is true for the reverse.
So what is the solution? Write an extended notebook with more topics, more examples, and more context around each code cell. We will also be sectioning off the notebook into smaller blog posts for those not interested in interacting with the notebook itself. Eventually it will formulate a series describing most of the important topics covered by the notebook. Why most and not all? Because a notebook can keep evolving over time by adding new material, improving examples, and maybe even reworking entire sections.
About Jupyter notebooks
Project Jupyter, born out of the IPython Notebooks project, promotes open standards for interactive computing. Jupyter notebook is built on IPython kernel for running computations on interactive code inputted by the user, and outputs the results of those computations. In addition to code and output, users can also write markdown text to document each step. Hence the notebook moniker. The quick code to feedback loop makes Jupyter notebooks perfect for experimentation and documentation. It has become the de facto tool for data scientists for this very reason. Kernels for many languages are supported. For example: R, NodeJS, Julia, Go, and many more.
Basic concepts
A notebook is organized into cells. Those cells are generally executed from top to bottom, but can also be evaluated individually by the user. A cell can contain either code or markdown, but not both.
Code Cells
A code cell is similar to a simple IDE, as it allows programmers to write code while also providing syntax highlighting and autocompletion. A code cell, unlike a typical script file, can be executed individually. In other words, cells should be evaluated sequentially but the user is free to jump to earlier cells while retaining variables in memory that were created by later cells. Whenever a code cell is executed, it displays the return value of the last line of code within that cell. Simple variables can even be called with no additional printing or formatting code, as the notebook automatically catches the return value. It even has built-in display formatting for data frames, but I will elaborate more on that later.
Markdown Cells
Markdown cells are simply for formatting text. Unlike code cells, they do not display the source and output separately. Active markdown cells display the raw markdown source for editing, while executing those cells formats them for reading. The user can easily toggle between editing and reading, unlike many other editors that only display the source and require generating a fully formatted document for reading.
Kernel
A kernel lies at the core of the code evaluation loop. Jupyter itself is written in Python and IPython is the default kernel it was built around. However, users can install any number of kernels for different languages. Those kernels can vary in maturity and quality. Don't be surprised when a kernel for your favorite language is missing basic features such as syntax highlighting or code suggestions. A custom kernel simply might not support those features yet. Some kernels might even be missing basic language features.
The kernel is chosen when first creating a notebook and can not be changed later. Using multiple kernels in a single notebook is not currently possible, nor is it possible to change the kernel of an existing notebook.
JupyterLab
IPython notebook files that use .ipynb file extension are generally considered to be the Jupyter Notebooks. However, the original web interface created for interacting with them is nowadays also often referred to as jupyter notebook. The reason for this is likely to distinguish that interface from JupyterLab, an advanced interface with IDE-like features, such as tabs, splits, variable exploration, extensions, and more. The old interface simply focused on interacting with a single notebook. A notebook file can be edited with both interfaces. There are no compatibility differences. JupyterLab simply provides a more extensive (but also more complex) interface.
A lab instance can be launched with a jupyter lab command while a legacy interface can be executed with a jupyter notebook. Nowadays, most projects default to using a lab over a simple notebook editor, but many people might still prefer the simplicity of the old interface. This might be worth considering when only getting started.
Setup
Jupyter core, lab IDE, and most extensions can be simply installed using normal python tooling. Keep in mind that jupyter and jupyterlab are separate packages with the latter extending the former. They can be installed with any python package manager, such as pip, conda, mamba, etc.

Local user install
Global system install with pip is not recommended. I would suggest installing as a regular user if not using a python virtual environment.

Please keep in mind that this method shall place the jupyter command into ~/.local/bin. Don't be surprised when you’re unable to find the jupyter command. Use full path or add this folder to PATH for convenience.

Once installed, simply run the jupyter command, then mind the output.

Jupyter will by default launch the system default web browser. However, do pay special mind for the access information presented in this log output. Jupyter uses a randomly generated token to authenticate the session. This can of course be reconfigured in the configuration file to be a static token or even a password, but if left unchanged it requires following the connection link in order to properly authenticate.
Also note that example displays a port 8889 which is not the Jupyter default 8888. Jupyter will detect if a port is already in use, presumably by another instance of JupyterLab. When that happens, it simply increments the port number by one. Why would you want multiple instances of JupyterLab? Because you might want to use different instances per project.
Configuration
Jupyter supports extensive configuration. By default, the configuration file is missing and default values are implicitly used. To customize the setup, the user will need to generate it.

The default configuration file will be placed under ~/.jupyter/jupyter_notebook_config.py. Notice that it's actually a python code file rather than plaintext configuration. This can enable very nice extensions to configuration. For example, a user might want to read configuration from environment variables instead which is useful for creating docker containers.
Customizing the configuration is not really needed for simple data exploration, however, which is just something to keep in mind for advanced deployments.
Code example
Jupyter is an interactive coding environment, so let's explore some basic usage. Since the theme of this notebook is exploring EVE data, a good first exercise would be to download a PCAP file and parse it with Suricata. The results can then be analyzed in upcoming sections.
A great resource for PCAP files is Malware Traffic Analysis, a site maintained by a Suricata community member that hosts PCAP files for various malware infection scenarios. We’ll start with a simple one that contains web scanning and Log4j CVE exploitation attempts. As any server administrator knows, website scanning is not really interesting traffic. It is inevitable when hosting any public services that scanning and exploitation attempts are fully automated by the malicious spiders. Think of it as a malicious version of Google indexing your pages. All that can really be done against it is reducing the attack surface, keeping to best practices, and ensuring exposed services are fully up to date with the latest patches. This sounds simple enough, but is actually an exponentially more difficult task than those uninitiated would assume.
Nevertheless, that noise means an abundance of data, making the PCAP perfect for displaying what Jupyter can do. We need to understand the general nature of the raw data and then separate relevant events from the noise.

The archive can be downloaded with an HTTP GET request using the python requests library.

Now we are able to conditionally check if the download succeeded or not. If the response was HTTP 200 OK, then we stream the response payload into a local file handle. Along the way we also calculate some useful information, such as download size in kilobytes. If the response does not indicate a success, we simply report the failure. Note that failure reporting is done here mostly for demonstration. Most notebooks leave errors unhandled, as subsequent code cells might depend on the success of the ones preceding it. Code evaluation is stopped when a cell throws an exception, prompting the user to figure out the issue.

Once downloaded, we can simply use native python libraries to unzip the file. Scripting this rather than unzipping manually has several perks. For instance, threat research file archives that could contain actual malware samples are conventionally password protected, in order to protect unsuspecting users from compromising themselves. The standard password for these archives is infected. We can simply script this common password into an unpacking call to save time.
The most difficult aspect about working with notebooks is dealing with data input and intermediate dumps. Reading a prepared CSV or JSON file is easy, but bundling it with a notebook is not. Often I come back to a notebook that was made months ago, only to discover that it depends on data files that are no longer available and nobody can remember how they were made. Or, the notebook might point to hardcoded paths that only exist on analysts' computers. It makes sense, since analysts want to focus on the problem and not waste time dealing with how the data gets into the notebook, but that can make many notebooks unusable later on.
It's a tough challenge and a balancing act, but it is okay to make rough notebooks that are discarded after use. Data exploration is a fluid discipline, so properly documenting initial shots in the dark is not often worth the effort. This notebook, however, is not meant for that. Packaging how the data gets into the notebook can be just as important as the analysis.

Finally, we can verify that the unpacked PCAP is in the filesystem by using glob search to find all files with the .pcap suffix. This allows us to build a variable that lists input files we can work with.
Note that we can simply display the value of the FILES variable by calling it. No need for any print or string formatting statements, although those could make the output look nicer. Notebook calls builtin display() method for best effort output visualization. The method call is implicit when in global scope, meaning the user does not need to import the method nor call it, but it would have to be called when displaying data from a function. Keep that in mind.

Currently the output is a simple python list, so the notebook displays it as such with no fancy formatting. However, we will soon see how data tables are automatically made to look nice. The output could also be copy-pasted into code blocks or even into other scripts or programs. Jupyter can and often is used for generating code that would otherwise be too tedious to write by hand.
Invoking a shell command
The Python code displayed in the prior section is not complicated, but not even the most experienced programmers know every API by memory. Quite often we need to resort to scouring code documentation or internet forums to remember the most basic things. Writing custom code means handling things on a fairly low level, even in batteries included languages like Python. This is for a good reason. Using the ´requests library expects the user to have basic understanding about HTTP requests and responses, know how to access the response payload (should the request succeed), etc. The API does not and should not know anything about handling files on operating system level. That's a job for the os package. You as the user have to know how to handle that.
So, wouldn’t it be nice to simply call that basic wget command you know by heart and use all the time? You’re in luck because you can!

Jupyter supports magic commands, either via built-in functions or calling shell commands. An exclamation mark as the first symbol in the cell signifies a shell command. You can also use variables, though I imagine more complex logic will quickly become messy. Those magic commands are simply meant to be used for saving time on basics. The real power of a notebook still lies in all the options it gives the user for analyzing the data, and custom code enables that. Notebook users will want to start analyzing data as fast as possible, so calling a familiar command instead of writing custom code can be a huge help.

Updating Suricata rules
Starting the code cell with percentage sign % invokes built-in functions. Again, this is just a method for saving time on basic tasks. Jupyter has commands for loading python file content into a code cell, measuring execution time, installing python dependencies, etc. Dependency install is especially useful in this notebook.
Working with Suricata eventually requires downloading and customizing rule files. Initial ruleset setup is quite easy, but maintaining it daily is a lot more difficult. Not every signature is meant to provide useful info in every environment. Alerting on a UNIX ping on a secure subnet that should only have Windows devices can be a red flag, but the same rule on a typical Linux server subnet is just a source of noise. A Linux system administrator would likely want to disable that rule, and ensure it remains disabled when the ruleset is updated the next day. For a long time this was out of the scope of the main project and people had to resort to using legacy tools or custom scripts for downloading, updating, or modifying their rulesets.
Suricata Update is a command-line rule management tool developed and maintained by the Open Information Security Foundation (OISF). It comes bundled with Suricata, assuming it's built with all python tooling correctly enabled, but it can very easily be installed individually because it is written in python just like Jupyter. The Jupyter builtin %pip command turns out to be very useful here, as we can ensure it's installed with minimal effort. This is done directly from the notebook and is pretty handy for ensuring that the notebook uses the correct ruleset without actually bundling the rules with the notebook itself. File paths and software licenses can be a pain to deal with.

Once suricata-update is installed, we can use it to enable rule sources, apply rule modification or disable overrides, and update our ruleset itself. For now, we simply enable a hunting ruleset that's likely to be too verbose on a normal production installation. But it can highlight useful events that might go unnoticed with core Emerging Threats Open. For demonstration, the following cells:
- list available public sources to see what can be enabled;
- enable a new ruleset that's already defined in default public rule sources;
- call suricata-update itself to actually update the rule file;
Once called, suricata-update will download tarballs from each enabled source, apply conversion rules as needed, then concatenate the result into a single output rule file. If a rule file was downloaded recently, it might skip the download entirely as normally this is done at most once a day.


Parsing the PCAP with Suricata
Having set up our rule file and downloaded a PCAP to analyze, we can now proceed with parsing it with Suricata. Most people know that Suricata can read PCAP files offline with the -r flag. Not many are aware that Suricata logging directory can be overridden using the -l flag and that Suricata can be pointed toward a rule file with -S or -s flags. Capital -S denotes an exclusive rule file, meaning all rule files configured in suricata.yaml are ignored. Lowercase -s adds that file to the list of files already in the main configuration.
We want predictable output for the notebook, so we choose an exclusive load. We also clean any existing logs from the logging directory, so we ensure that it's fully recreated. Suricata would append logs to any existing PCAP files, meaning rerunning the code cell would create duplicate events.

This should result in some interesting data to analyze in /tmp/logs/eve.json. Before we introduce data scientists tooling, let's just extract a single high severity alert to see what a typical EVE event looks like. As you can see, it's a highly nested JSON event with a lot of extra context. This is very useful for providing analysts with as much data as possible but it can be quite daunting to explore, as a single event can already fill an entire screen but a production network can produce millions.
Quick look into the first event
Once parsed, it’s time to look into a sample EVE event. An alert is a good first pick, since it also includes info from other event types and can also verify that the ruleset load worked correctly. A lot of things can go wrong when loading rules. A variable can be missing, a keyword might be unsupported, or home networks might be incorrectly set up. A missing variable would cause errors while loading rules, and problematic rules would be skipped. In the event of a misconfigured home network rules would simply not trigger. However, those issues are not fatal. Suricata would still start up and produce NSM events, even without a fully functioning ruleset.
A Suricata EVE JSON file is really a newline-delimited JSON (NDJSON), meaning we cannot parse the full file as JSON. We need to do it line by line. The following example code iterates lines until the first alert event is found.


Dataframes and Pandas
JSON is great for building applications and for security analytics. It is structured and most modern no-sql databases default to using it. Nowadays, security analysts are used to reading it. Data scientists and data engineers, however, work with tabular row-column data. Most data mining and machine learning algorithms work on data vectors or matrices, with a matrix essentially just being a vector of vectors. For statistical analysis, those vectors usually contain floating point numbers - some kind of numeric measurements. Each vector would make up a column of data within the matrix, and complex calculations are carried out on them.
Sometimes multiple columns are combined to transform raw data into more meaningful context. For example, Suricata measures request and response bytes separately, and an analyst might want to sum up those columns. Other times a vector would be scaled or normalized, as measurements might be on different scales and would thus not be directly comparable. For example, defining a generic threshold is very difficult as traffic scale and patterns differ greatly between organizations.
A column of data might not be numeric measurements, but rather textual values, booleans, timestamps, categories, etc. This is usually the case with NSM data. A classical matrix stores only one type of data, usually numbers. A dataframe is basically a matrix where each column can be of a different type. Pandas is a data analysis and manipulation library that brings dataframes to the Python language.
Getting started with dataframes is quite simple. The challenge is changing the mindset. Coders experienced in imperative languages might need to relearn what they already know because statistical analysis is centered around vectors, rather than individual elements. Furthermore, APIs are often declarative and follow functional programming paradigms.
Basically, you need to drop the for loop and learn how to apply functions instead.
The reason is performance. CPUs are really efficient at crunching numbers and SIMD instructions speed up calculations by orders of magnitude. Even the smartest code has a hard time competing with that. Data science libraries in high-level languages such as Python often function as interfaces. They give the user an extensive API that's intuitive to use, yet actually defer the calculations to low level code written in C or C++ that are able to leverage optimized CPU instructions or even GPUs. In other words, passing a vector of data means it might be handled by efficient machine code, whereas looping over items in Python means they will always be evaluated by Python – a language notorious for being slow.
In the case of Suricata data, we're mostly working with textual values that would first need to be converted into numerical measurements before such gains could be made. Hence, we likely won't see a huge performance increase doing things the pandas way rather than the python way. In fact, sometimes it will be faster to just convert data between python objects and native python data structures, especially when fast random lookup is required (lists are really bad at that). This is a challenge when combining NSM data with data science tools. Concessions need to be made on both sides. Data science tools are not better or worse than tech stacks that are well established in security, they simply open new possibilities.
Benefits of choosing pandas over native python are:
- Pandas implements a ton of useful methods for working with and filtering data;
- Pandas code can be much more concise that imperative logic in python, often achieving in few lines that would otherwise require complex functions;
- Jupyter has native display and visualization support for pandas dataframes, making visual exploration much easier;
Choose raw python objects over dataframes when:
- complex conversion needs to be made that is not readily provided in Pandas;
- fast random access is needed;

Nested JSON and Pandas
As anyone familiar with Suricata EVE format knows, it can be challenging to work with thanks to the nested structure and sheer amount of fields. Suricata can log well over 1000 distinct JSON key-value pairs, omitting any that have been disabled in configuration or simply cannot be parsed from a particular flow. For example, a TLS 1.3 connection will for now most likely display a SNI (Server Name Indication) but will not have any certificate fields, as the latter are simply not visible in plaintext network view. Sometimes a field only appears in a handful of events, making it easy to overlook. Figuring out what is available to work on is a challenge.
Pandas provides a useful method – json_normalize – for normalizing nested JSON fields into dataframe. Resulting columns use dot notation to signify nested objects, similar to how Elasticsearch does it. For example, the sni key is part of the tls section and would be accessible from column tls.sni. Missing values are noted as np.nan, or not a number, which is a statistical analysis convention. As mentioned, statistics is where pandas and underlying numpy libraries originated from. A measurement could simply be missing due to bad instrumentation, or it might be the result of some algorithm that does not provide meaningful output in some scenarios. For example, dividing by zero is not allowed but nevertheless happens very easily in statistics. When trying to find a ratio between two measurements and the second counter is 0, the only possible result is NaN as the result 0 would be mathematically incorrect.
Not a number is actually a special floating point value and a perfectly legal data type for vector computing. For Suricata, however, it simply means a missing value and likely has nothing to do with numeric measurements. Think of it as null or None value.
Note that we still need some regular python code to parse individual EVE messages, as built-in pandas read_json would assume a full JSON structure rather than a newline delimited JSON (NDJSON) log. Also note that this method reads all logs into memory and all further processing is also done there as well. Do not expect it to scale over gigabytes of data, unless of course you have access to a lot of RAM on a single machine. It's meant for limited data exploration, quick prototyping, etc. Big data analytics require supporting infrastructure when unable to fit into local memory.

Quick overview of columns
Before proceeding with analyzing the data, we need an initial overview of what we can work with. The most simple measurement is simply understanding the number of rows and columns in the set.

As mentioned before, understanding the available fields is particularly important for EVE data. This info can be accessed directly from the dataframe object. The reader might also observe significant noise in these values, as the simple EVE log we loaded most likely contains stats events. These fields provide a lot of statistics from the Suricata engine and are really useful for finding performance problems. However, they don't contribute much to threat hunting and simply overshadow the data fields.
To deal with this, we can write simple python to filter them out and provide a much cleaner view of the data.

Describe method
A describe method is a useful shortcut for understanding statistical properties of numeric columns. It has limited value for NSM data, as most fields are either textual or categorical. Some numerical EVE values cannot be analyzed like this, for example source and destination ports, randomly generated flow ID values, etc. However, it can provide great insights into flow and stats records, instantly revealing data properties such as distribution, max and min values, mean values, standard deviation, etc.

Summary
This concludes our initial introduction to Jupyter notebooks and importing Suricata EVE JSON logs into pandas data frames. We explained basic notebook terminology and showed how to run your first notebook, then showed how to use code cells, and finally introduced Pandas dataframes for analyzing Suricata EVE data. Code examples were grounded in practical use-cases one might encounter while working with Suricata, such as preparing PCAP files, setting up rulesets, processing nested EVE JSON logs, etc.
This series will continue in the next post to introduce basic data exploration with pandas dataframes for threat hunting. If you're interested in continuing to read about this subject, click to view Part 2 in this series.